

Quick answer: To move an aquarium, put the fish in bags or a container filled with water from their own tank, then drain and pack the tank and equipment separately. Set the tank up again as soon as you arrive, using as much of the original water as you can.
Moving house with an aquarium can be a daunting affair. There are high chances that you'll be tempted to move the fish tank with the fish inside to make your work easier. But don't take that bait. Though it seems less stressful, it's not the right way nor the safe way to transport an aquarium.
We understand the stress you might be going through. And we want to help you go through this process without breaking a sweat. So, here is a step-by-step process of moving house with an aquarium.
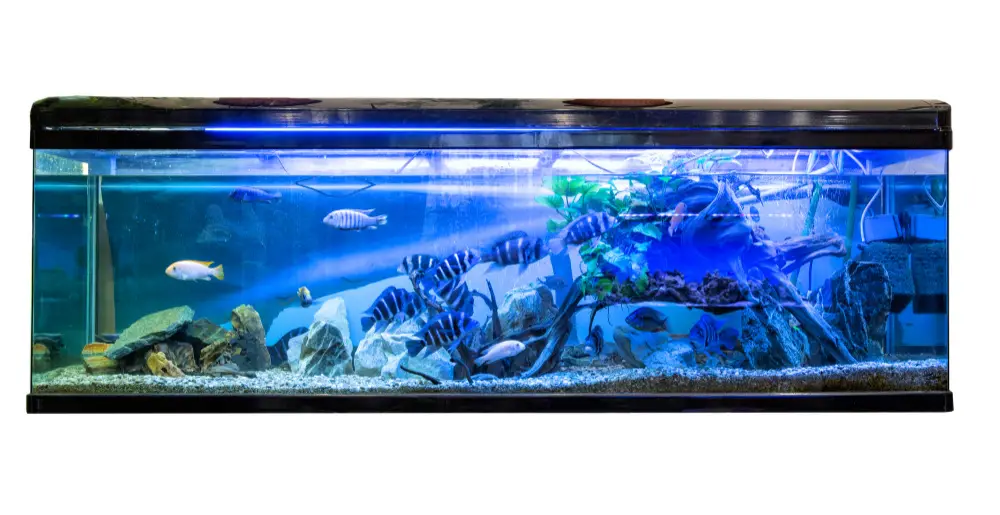
Step 1: Preparing for the Move
First things first, check your new home to figure out the right spot for the fish tank. Ideally, it shouldn't be under direct sunlight. Once you have a spot for the fish tank, it's time to buy special packing material to ensure safe transportation.
You'll need a lidded material, say, a cooler, a big bucket, or a styrofoam box. You'll have to buy fish transportation bags that allow for enough oxygen. Next, get a packing box to pack the fish tank. You also need bubble wraps, packing papers, and old blankets or clothes to cushion the fish tank. Lastly, you'll need sturdy cardboard boxes and plastic containers for the accessories and decorations.
Another important point to note at this stage is that you shouldn't feed your fish 24 hours before the move.
Step 2: Moving the Fish
This is where the challenge begins. To ace moving house with your aquarium intact, you must consider your fish species and the size. Ideally, larger fish should go in their own bags. For the small ones, you can pack a maximum of three in one bag, though you can also opt to pack each in its own bag.
To move the fish, drain the water from the fish tank into the transportation bags. The bags should be a quarter full, the perfect balance of oxygen and water. Then, use a net to capture the fish. This process can be tricky, so be gentle and take it slow. When you catch a fish, put your hand over the net when transferring it into the bag so that it doesn't lip out. Then, secure the bag with a rubber band.
Remember the containers you were to shop for in step one? It's now time to use them. Take the bags and place them in a cooler or a container of your choice. Once all the fish bags are in the container, close the lid. Your aquatic pets are now ready for transportation within the next 12 hours.
While on the road, don't open the container's lid as sunlight may enter and make the fish agitated. Instead, let them sit in the dark. This way, they'll calm themselves.
Step 3: Pack the Tank
This is yet another step that you have to be extra careful. Since you've already drained some of the water into the fish bags, you can now remove the filter, which is a crucial component of the fish tank. Remove it carefully and place it in a container with the aquarium water.
If there are live plants, remove them carefully and place them in a container with the aquarium water. Remove, dry, and wrap the non-animated decorations with packing paper. From here, disassemble the aquarium accessories. If there is still some water in the aquarium, drain it out. You can pour it into a clean bucket, take it with you, and use it when putting the aquarium together. Next, remove the sand or gravel at the bottom of the fish tank and pack it in a plastic bag.
Once the fish tank is empty, dry it well and wrap it with bubble wraps. In the packing box, where you want to place it, lay some old blankets or clothes at the bottom before carefully lifting the fish tank and placing it inside the box. Make sure you fill the empty spaces with clothes and cramped papers so that it's secured.
Place the live plants' bags and the accessories and decoration bags into a packing box and label the box "FRAGILE" on the side and the top part. It's time to move now. Bear in mind that you'll have to transport the fish and the aquarium with you in the car as most moving companies' policies don't permit transporting live animals in their vans.
If you plan the process, this step should be easy. However, if it feels overwhelming, don't hesitate to call 1 Van 1 Man Removals to help you pack your aquarium safely to your destination.
Step 4: Unpack the Fish
This is your top priority when you reach your new home. Hit the ground running, first, by setting up the fish tank at the designated spot. Check if there are any cracks in the tank. If the fish tank is intact, start by adding sand at the bottom of the tank. Put back all the accessories in their original positions. Additionally, place the living plants and the decorations in an ideal position before adding the water you saved from the disassembling process in your old house.
The next step is to carefully place the fish while still in the bag into the water. Let it float in the aquarium for 20-30 minutes. During this time, you can add the aquarium water in the fish bag, little by little, so that the fish adjusts to the PH and temperature of the water in the aquarium. After the time has lapsed, cautiously allow the fish back into the aquarium.
Here is an informative video on how you can release your fish into the aquarium without harming it.
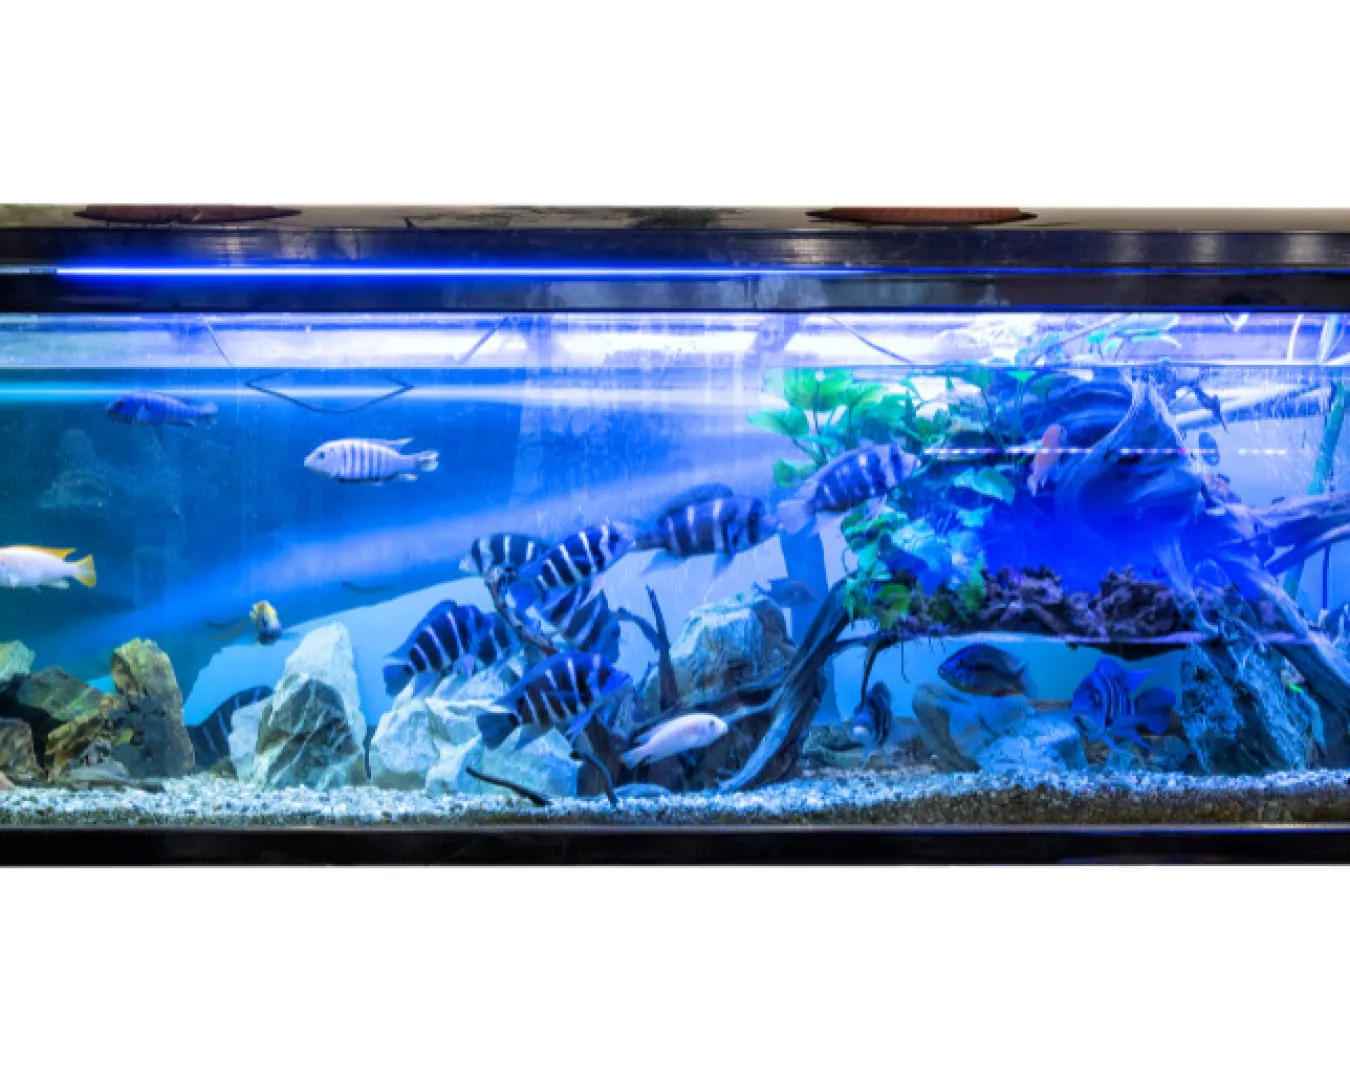
Please note that all this time, the aquarium light is off. And it should be off for the next six hours as fish are sensitive to light. You want them to adjust gradually. Another pointer, don't feed the fish for the next 24 hours.
Are You Moving House With an Aquarium and Need Help?
1 Van 1 Man Removals has a track record of consistently going above our customers' expectations, and your case won't be any different. We'll not only help you pack your aquarium but also ensure all your household items are well packed ready for the move. Contact us for professional removal services at competitive prices.
If you'd rather hand the heavy lifting to a local team, see our flat pack furniture assembly or packing service.
Last updated 8 November 2026